

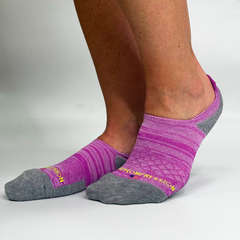


Compression socks are excellent for reducing leg pain, improving circulation, and supporting your overall health. They're particularly beneficial for older adults and those with conditions like varicose veins or blood clots. For added support, you can also consider cushioned compression socks, which provide targeted relief and improve blood flow.
However, learning how to put on compression socks can be challenging. Thankfully, various tools are available to make the process easier and ensure everyone can use them effectively.
Tools to Help Put on Compression Socks
There are a variety of helpful tools designed to make putting on compression socks easier, especially if you have limited mobility or hand strength. Below are some of the most popular options you can consider.
RMS Deluxe Sock Aid
The RMS Deluxe Sock Aid is perfect for those with difficulty bending or limited hand strength. It features a soft plastic shell and long handles that make it easy to pull the sock up without bending down, reducing strain on the back and hands.
Doff N' Donner
The Doff N' Donner tool is excellent for those who can reach their feet but need help sliding on compression socks. It can also assist caregivers. Rolling the sock onto the tool slides onto the leg smoothly, making it easier to put on even tight compression socks.
Steve Glide Clipper
The Steve Glide Clipper is a lightweight, portable tool that helps reduce friction between the sock and the leg. It's ideal for those with enough mobility to reach their feet but struggle with tight socks. This tool works well for putting on mild compression socks, and its compact size also makes it perfect for travel.
Jobst Stocking Donner
The Jobst Stocking Donner is designed for people with arthritis or those who have trouble bending over. It features a sturdy frame that holds the sock open, allowing you to slide your foot in and pull it up using padded handles. It's also beneficial for pregnant women or soon-to-be moms who may find putting on their pregnancy compression socks or mom stockings challenging, helping them efficiently manage swelling and discomfort.
How to Choose the Right Tool for Putting on Compression Socks
When selecting a tool to help with putting on compression socks, consider your specific needs and limitations. Here's a quick guide:
|
Situation |
Recommended Tools |
Description |
|
Limited Mobility |
RMS Deluxe Sock Aid, Jobst Stocking Donner |
Provide leverage for putting on socks without bending or reaching feet. |
|
Limited Hand Strength |
RMS Deluxe Sock Aid, Doff N' Donner |
Features soft grips and flexible shells, making them easier to use with reduced grip strength. |
|
Travel |
Steve Glide Clipper |
Compact and portable, ideal for use on the go. |
Tips for Maintaining Your Compression Sock Tools
Taking care of your compression sock tools is important if you want them to remain effective and easy to use. Regular maintenance can even help extend the life of your devices.
RMS Deluxe Sock Aid
-
Clean it regularly: Wipe the plastic shell with a damp cloth and mild soap to remove dirt or residue. Avoid submerging it in water to prevent damage to the materials.
-
Check the handles and ropes: Ensure the ropes and handles are secure and free from fraying. Replace them if they show signs of wear to maintain safe and effective use.
-
Store it properly: Keep the sock aid in a dry place away from direct sunlight to avoid warping or weakening the plastic.
Doff N' Donner
-
Clean the sleeve: Rinse the sleeve with warm water and mild soap after each use to remove any buildup of sweat or dirt. Let it air dry thoroughly before storing.
-
Inspect it for damage: Check for any cracks or tears in the sleeve and cone. Damaged tools can make it challenging to put on socks and may cause injury.
-
Store it properly: Store in a cool, dry place to maintain the sleeve's elasticity and shape. Avoid folding or bending it to prevent damage.
Steve Glide Clipper
-
Wipe it down after each use: After each use, use a damp cloth to clean the surface and remove any residue. Avoid using harsh chemicals that could degrade the material.
-
Check its operation: Regularly check that all parts move smoothly. If they start to feel stiff, lightly lubricate the moving parts.
-
Keep it portable: Store it in a travel pouch or case to protect it from damage when not in use, especially if you take it on the go.
Also, remember to wash your compression stockings after each use to maintain their elasticity and practice good hygiene.
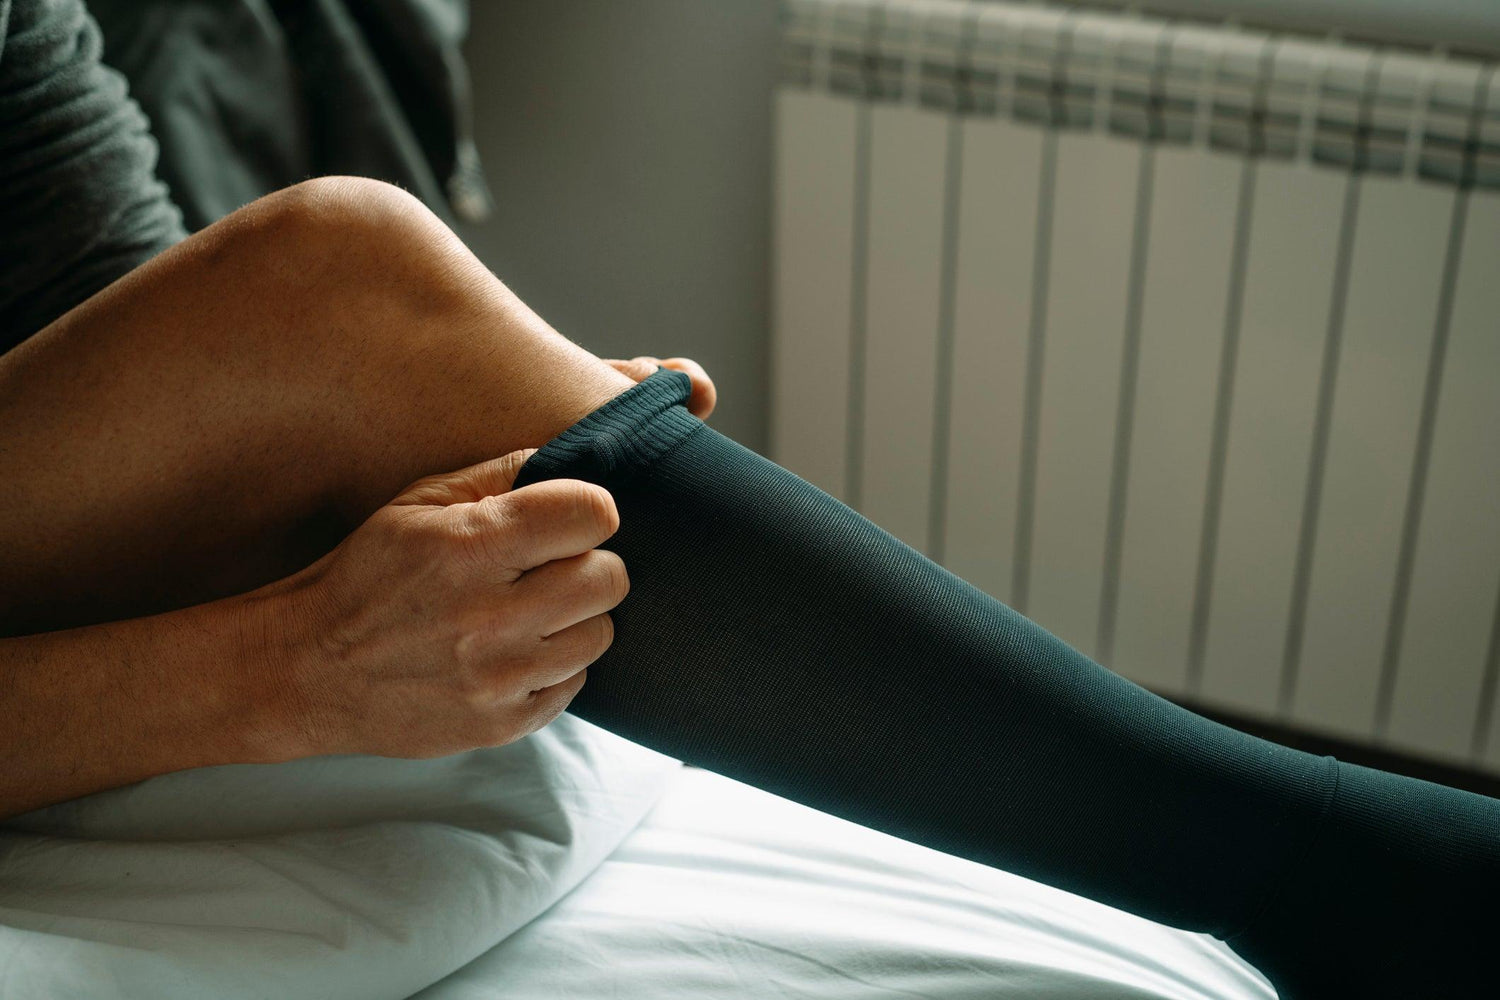
How to Put on Compression Socks: A Step-by-Step Guide
Putting on compression socks can feel tricky at first, but following these simple steps can make the process much easier:
-
Choose the right time: Put on your compression socks first thing in the morning when swelling is at its lowest. This makes the socks easier to slide on and ensures a better fit throughout the day.
-
Prepare the sock: Before you start, turn the compression sock inside out up to the heel. This makes it much easier to align your heel correctly and smoothly pull the sock up the leg.
-
Use talcum powder or cornstarch (optional): Lightly dust your feet and lower legs with talcum powder or cornstarch to help the sock glide on more smoothly, especially if your skin is moist.
-
Use gloves for better grip (optional): Wear rubber or latex gloves to improve your grip on the sock fabric and reduce the risk of tears.
-
Slide your foot in: Place your foot into the sock’s foot section, ensuring that your heel fits into the heel pocket.
-
Pull the sock up gradually: Gently pull the sock up over your ankle and calf in small sections, smoothing out wrinkles as you go. Avoid tugging from the top.
-
Check for proper fit: Make sure the sock is smooth and wrinkle-free, with the heel properly positioned. The sock should feel snug but not painfully tight.
-
Use a donning device if needed: If you have difficulty bending or pulling, use a sock aid or donning device to make the process easier and safer.
Choosing the Right Compression Socks for Older Adults
The best compression socks for elderly individuals typically offer a lower compression level: mild or moderate. If you’re a senior, or you’re trying to select the right compression sock for a senior, there are a few factors to consider to ensure both comfort and effectiveness.
-
Compression level: Choose the appropriate level, such as mild (15-20 mmHg) for general use or high (30-40 mmHg) for more severe conditions. Knowing how to select the ideal compression level is very important. If compression socks are new to you, consider starting with a moderate level and then advancing to firmer compression options as you become more comfortable.
-
Material: Opt for breathable, moisture-wicking fabrics like nylon or spandex to prevent irritation and ensure comfort.
-
Fit: Accurate measurements of your legs are essential. A well-fitted sock should be snug but tight, ensuring effective compression without discomfort.
Benefits of Using Compression Socks for the Elderly
Compression socks offer a wide range of health benefits for older adults, from improving circulation to reducing swelling and discomfort. Understanding these benefits can help seniors make the most of wearing their compression socks daily.
Compression socks can:
-
Prevent swelling: Compression socks can reduce swelling caused by prolonged sitting or standing, making them ideal if you have a job that requires long hours on your feet.
-
Improve circulation: These socks enhance blood flow back to your heart, alleviating discomfort, reducing your risk of conditions like varicose veins or DVT, and preventing foot complications in the case of compression socks for diabetics.
-
Relieve pain and fatigue: They support your leg muscles and veins, reducing pain and fatigue — especially useful if you’re an older adult or recovering from surgery or injury.
-
Keep your legs warm: Compression socks can help keep your legs warm, which is beneficial if you have cold feet or poor circulation.
Frequently Asked Questions
What is the easiest way to put on compression stockings?
Using a sock aid or donning device is the easiest way to put on compression stockings. For even easier application, turn the sock inside out up to the heel before starting, and consider wearing rubber or latex gloves to improve grip and protect the fabric from tears.
How do you assist a client with putting on compression stockings?
Assist by using a donning tool, gently sliding the stocking over the foot and up the leg, and ensuring it is smooth and wrinkle-free. Pull the stocking up gradually in small sections rather than tugging from the top to avoid damaging the material. Make sure the heel section is properly aligned to ensure the sock delivers the intended level of compression effectively.
What do you do if you can't get compression socks on?
If you can't get compression socks on, use a donning aid or apply a small amount of talcum powder to reduce friction.
How do you put compression stockings on someone else?
Use a donning device, place the stocking over the foot, and slowly pull it up the leg, ensuring even pressure and no wrinkles.

Leave a comment
This site is protected by hCaptcha and the hCaptcha Privacy Policy and Terms of Service apply.